WiFi Printer Not Connecting to Network? Try These Fixes
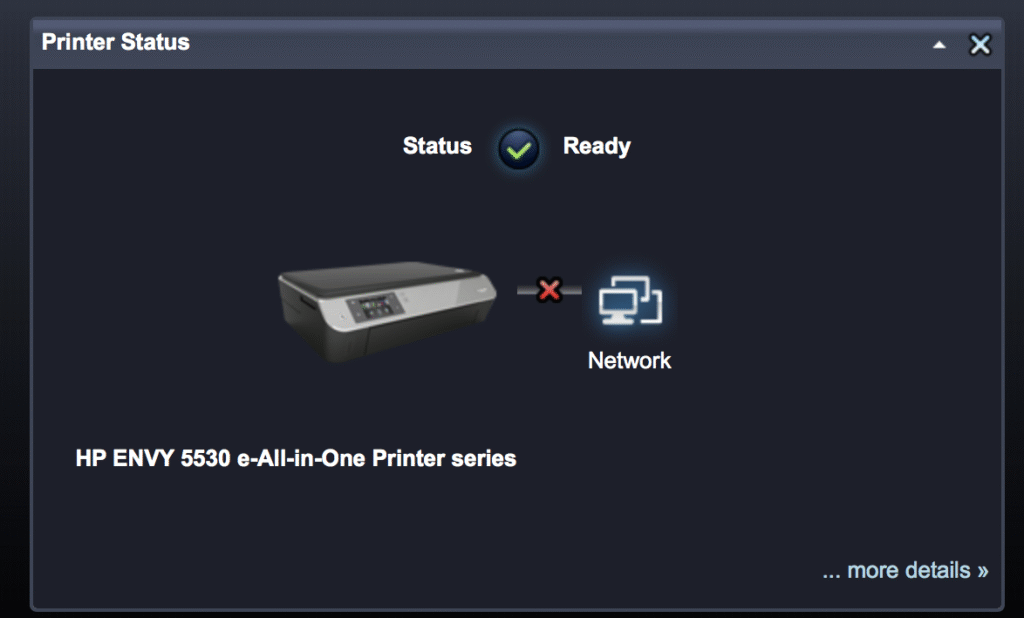
If your WiFi printer isn’t connecting to your network, don’t worry. These step-by-step fixes should help you get back on track: 1. Restart Everything Quick fix for many issues: Restart your printer, router, and computer/phone. Wait 30 seconds before turning them back on. 2. Check WiFi Connection on Printer Use the printer’s display panel to check the WiFi status. Make sure it’s connected to the correct network (SSID). Reconnect manually if needed. 3. Re-Enter WiFi Password If the WiFi password was changed recently, update it on the printer. Mistyped passwords are a common reason for failed connections. 4. Move the Printer Closer to the Router Weak signals cause dropouts. Place the printer within 20-30 feet of the router. 5. Use the Printer’s Wireless Setup Wizard Access the printer’s settings. Choose “Network” > “Wireless Setup Wizard” and follow the steps. 6. Check for IP Address Conflicts Go to your printer’s network settings and note the IP address. If multiple devices use the same IP, it can cause issues. Restarting the router usually assigns a new IP. 7. Update Printer Firmware Go to the printer manufacturer’s website. Download and install the latest firmware for your model. 8. Disable MAC Address Filtering (Temporarily) If enabled on your router, it might block the printer. Log into your router settings and check for MAC filtering. 9. Try Connecting via WPS If your router supports WPS: Press the WPS button on the router. Then press the WPS button on your printer or select WPS from the menu. 10. Reset Printer Network Settings This will erase saved networks and allow a fresh connection. Usually found under Settings > Network > Reset Network Settings. Still not working? Try connecting via USB temporarily to print. Contact the printer manufacturer’s support if it refuses to connect.
Top 5 Reasons Your Printer Is Not Printing And How to Fix It
1. Printer is Not Properly Connected Issue: Printer is offline or not connected to the computer or Wi-Fi. Fix: For USB printers: Check the cable connection and try a different USB port. For wireless printers: Ensure both your printer and device are on the same Wi-Fi network. Restart the printer and your computer. Go to Devices and Printers → Right-click your printer → Select “Set as default printer.” 2. Out of Paper, Ink, or Toner Issue: The printer has no paper or the ink/toner is empty or low. Fix: Refill the paper tray. Check ink or toner levels via the printer software. Replace any empty cartridges. Make sure cartridges are properly installed. 3. Print Queue is Stuck Issue: Previous jobs are stuck, preventing new prints. Fix: Go to Control Panel > Devices and Printers. Right-click your printer → Select “See what’s printing.” Cancel or delete all stuck print jobs. Restart the Print Spooler: Press Windows + R, type services.msc Find Print Spooler, right-click → Restart 4. Driver Issues Issue: Missing, outdated, or corrupt printer drivers. Fix: Go to your printer manufacturer’s website. Download and install the latest drivers for your model. Or, open Device Manager → Right-click printer → Update driver. 5. Wrong Printer Selected Issue: You’re sending the job to a different or offline printer. Fix: In your print dialog, select the correct printer. Set your printer as default: Settings > Devices > Printers & scanners Click your printer → Manage → Set as default